How to Tidy Your Clothes Dryer Vent Ducts
Dryer Vent Cleaning in Sun Valley — All garments dryers have different types of filters to catch the dust created as garments tumbles inside the clothes dryer, however the filters can not capture all the lint. Some quantity of lint inevitably passes into the ductwork causing the outside vent, as well as correct upkeep needs that you cleanse this ductwork routinely.
Why Dryer Ducts Need to Be Cleansed
The UNITED STATE Fire Management reports that yearly greater than 2,900 home fires are begun by clothing dryers, and also the leading root cause of these fires is an accumulation of dust because of absence of straightforward upkeep for the owner. Each lots of washing that travels through your washing device and also makes its method to your clothing dryer includes lint– primarily small fragments of cloth and fiber that are loosened from apparel by the activity of agitating water.
The detachable lint filter in your clothes dryer just can not catch all the lint without garments. The lint that makes it past the filter gets caught in gaps deep inside the lint filter catch and all along the clothes dryer ductwork as it makes its way to the outside vent opening. When the dust builds up, they limit air flow and lead to getting too hot, which can stir up the dust itself.
There are several indication that hazardous lint accumulation has actually occurred in your dryer ductwork system, showing that it needs a complete cleansing:
Clothing take longer to dry or do not dry completely
Clothing are hotter than regular at the end of the drying out cycle
Beyond dryer obtains very hot
Outdoors exhaust vent flapper does not open quite, showing low exhaust velocity
Laundry room becomes much more moist than common
Scorched smell appears in the utility room
Security Considerations Prior To Starting
The versatile plastic or steel foil ductwork that was once typically utilized to link dryers to outdoors vents are currently restricted by a lot of local building ordinance. These air vent tubes were preferred because of the simplicity with which they can be transmitted with challenging spaces, however due to the fact that their within surface areas are ribbed, they can conveniently catch dust and also cause fires because of overheating.
If you have among these flexible ducts installed, it is best to replace it with smooth-walled metal ductwork authorized for this usage. If you can not get rid of and change the old ductwork, then it must be on a regular basis removed and thoroughly cleaned out from one end to the other.
Unique Brushes Are Required
Extensive dryer vent cleansing calls for special brushes. Vacuum cleaner add-ons alone do not function too because they do not perturb the dust to remove it from the wall surfaces of the duct, as well as they can not reach deep adequate inside the clothes dryer’s lint filter real estate.
Brush kits feature a long-bristle brush to clean the lint filter area, along with a round-bristled brush that can clean out a 4-inch round stiff clothes dryer duct– the kind you must have for all concealed sections of your duct run. The round brush pointer fastens to a versatile fiberglass shaft that can be extended in areas.
1. Remove the Lint Trap Filter
Disconnect the dryer’s power cord, and switch off the gas valve at the dryer (for gas clothes dryers). Detach the air duct joint closest to the dryer, then gently pull the dryer far from the wall surface. Detach the remaining exposed areas of the dryer duct. If the areas are taped, eliminate as well as discard the tape.
2. Vacuum the Dust Catch Real Estate
Vacuum the inside of the dust catch housing, utilizing a long, slim hose pipe attachment for your hoover. Adhere to the first vacuuming with a 2nd pass, making use of the lengthy flexible brush from the brush kit. Prolong the brush right into all-time low of the tooth cavity, after that gently draw the brush out of the dryer real estate.
Clean the brush bristles with the vacuum cleaner. Repeat as required till there disappears dust that can be gotten rid of from the tooth cavity.
Note: Some brush kits can be attached to a mobile drill to spin the brush inside the duct. If you use this alternative, run the drill at slow-moving rate and also advance the brush slowly via the duct.
3. Separate the Dryer Ductwork
Unplug the clothes dryer’s power cable, and switch off the gas valve at the clothes dryer (for gas clothes dryers). Disconnect the air duct joint closest to the clothes dryer, then gently draw the clothes dryer away from the wall. Disconnect the continuing to be subjected areas of clothes dryer air duct. If the sections are taped, remove as well as discard the tape.
4. Clean the Ductwork
Affix the round-duct brush head to the flexible fiberglass shaft, adhering to the brush set supplier’s instructions. Place the brush into each air duct area and also move it clean by using a rotating motion while moving the brush back and forth. Take out the brush and clean the head regularly.
Clean the remainder of the air duct run making use of the exact same strategies, adding more sections of the flexible shaft as required to get to completion of the stiff air duct. Repeat until no more dust comes out of the air duct.
Examine the air vent cap at the exterior end of the duct to make sure it is clean as well as its flapper door works correctly.
5. Reattach (or Change) the Ductwork
Reconstruct and/or replace the duct sections, maintaining the following suggestions in mind:
It’s ideal to use an adjustable, rigid, 90-degree arm joint at the exhaust end of the dryer. Flexible ducts can kink when the clothes dryer is pushed back into area, causing a significant obstruction to exhaust circulation.
A section of versatile metal change duct serves in between the clothes dryer arm joint and also the inflexible duct in the wall, offered the change duct is UL-listed for this usage as well as is allowed under the local building ordinance. But do not make use of unpublished metal transition air duct or any type of adaptable foil or plastic duct.
Affix all inflexible steel and also semi-rigid ductwork sections with a 4-inch worm-drive stainless-steel air duct band clamp, tightening up the clamp with a screwdriver.
All hidden ductwork (hidden inside walls, floorings, and so on) have to be rounded, stiff steel air duct. Change any type of versatile duct that isn’t subjected with stiff steel ductwork.
Seal irreversible duct areas with UL-listed metal foil duct tape. Do not make use of regular plastic air duct tape, which dries out as well as fails with time.
Once the ductwork remains in good shape, switch on the gas valve (for gas clothes dryers) and also plug in the dryer. Push the clothes dryer back right into its regular setting, ensuring that none of the ductwork is kinked or warped by this activity. Make sure the lint screen remains in place. Run the clothes dryer and also confirm that it is airing vent entirely.
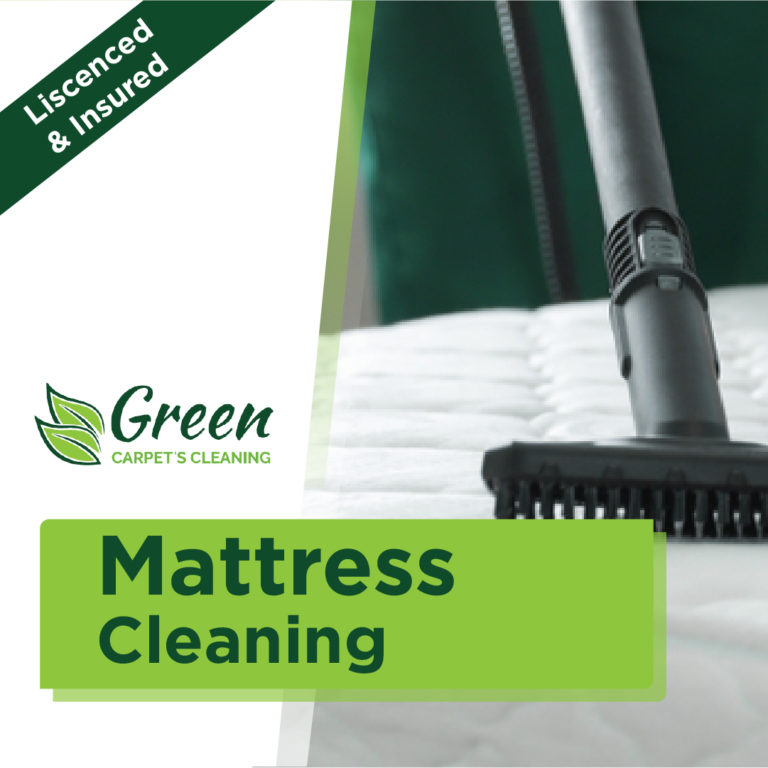
Contact us at Green Carpet’s®!
How to Clean Dryer Vents and Things Can Happen If You Do Not in Sun Valley
Stop Fires and Also Completely Dry a Lot More Effectively by Deep-Cleaning your Clothes Dryer by Green Carpet’s Cleaning® in Sun Valley